This guide introduces how to set up iTerm2, Zsh, and Homebrew on macOS, and apply the Powerlevel10k theme to create a fully optimized development environment.
🛠️ 1. Installing Homebrew (if needed)
Homebrew is a package manager for macOS that makes it easy to manage software packages.
✅ Check if Homebrew is Installed
Run the following command in the terminal:
brew --version
If you get command not found: brew, Homebrew needs to be installed.
🔧 Install Homebrew
/bin/bash -c "$(curl -fsSL https://raw.githubusercontent.com/Homebrew/install/HEAD/install.sh)"
After installation, update the packages:
brew update && brew upgrade
🖥️ 2. Checking and Installing Zsh
Zsh comes pre-installed on macOS, but updating to the latest version is recommended.
✅ Check if Zsh is in Use
echo $SHELL
If the output is /bin/zsh or /usr/bin/zsh, Zsh is already in use. If it shows /bin/bash, you need to install Zsh.
🔧 Install Zsh
brew install zsh
chsh -s $(which zsh)
Restart the terminal for the changes to take effect.
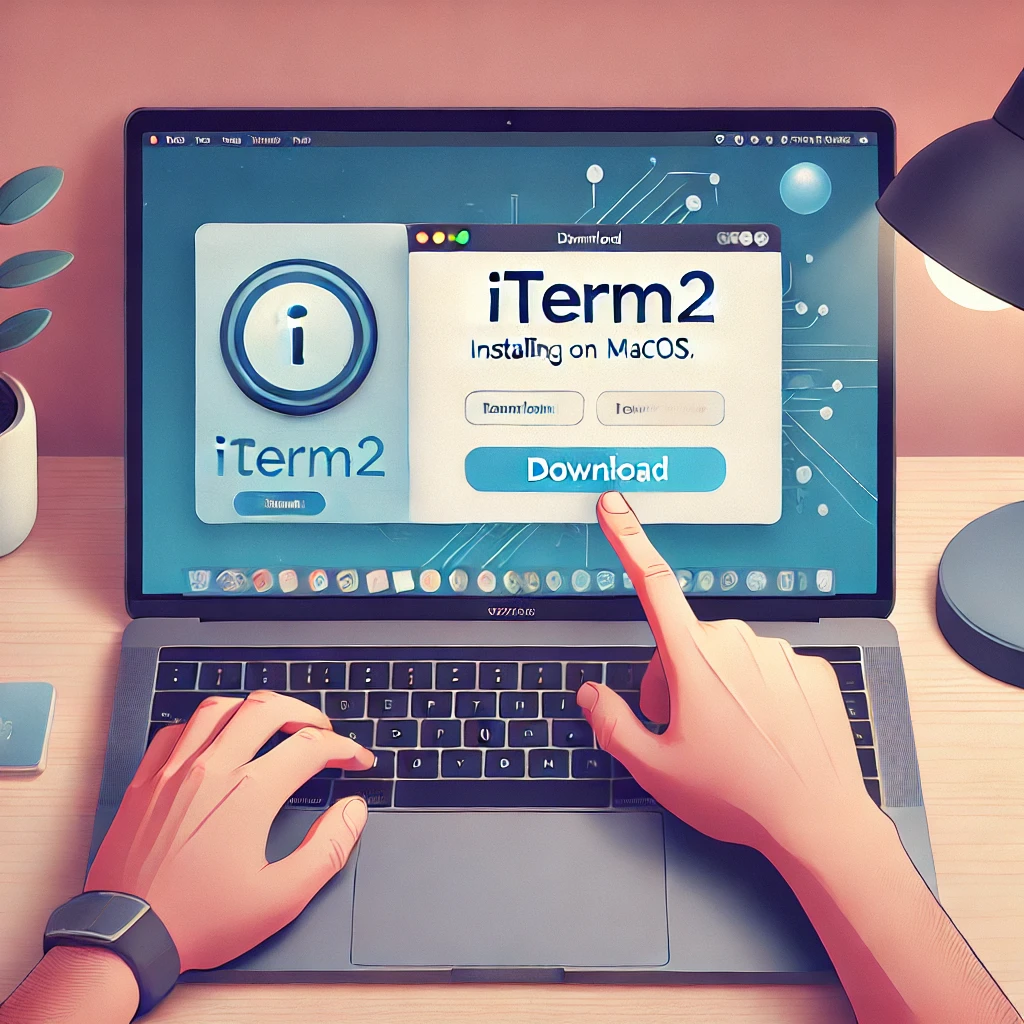
💻 3. Installing and Configuring iTerm2
✅ Install iTerm2
brew install --cask iterm2
Alternatively, you can download and install it from the iTerm2 official website.
✅ Basic iTerm2 Configuration
- Open Preferences with
⌘ + , - Navigate to Profiles → General and set Command to
/bin/zsh
✅ Useful iTerm2 Shortcuts
- Split Vertically:
⌘ + D - Split Horizontally:
⌘ + Shift + D - Switch Between Panes:
⌘ + [Arrow Keys]
🎨 4. Applying and Configuring Powerlevel10k Theme
✅ Install Oh My Zsh
sh -c "$(curl -fsSL https://raw.githubusercontent.com/ohmyzsh/ohmyzsh/master/tools/install.sh)"
✅ Install Powerlevel10k
git clone --depth=1 https://github.com/romkatv/powerlevel10k.git ${ZSH_CUSTOM:-$HOME/.oh-my-zsh/custom}/themes/powerlevel10k
✅ Apply the Theme
Open .zshrc (nano ~/.zshrc) and modify:
ZSH_THEME="powerlevel10k/powerlevel10k"
Apply the changes:
source ~/.zshrc
✅ Run Powerlevel10k Configuration
p10k configure
🔹 Recommended Settings
- Style: Rainbow (Colorful theme)
- Prompt Height: Two lines
- Character Set: Unicode (Supports more symbols)
- Prompt Connection: Dotted (Dotted lines)
- Transient Prompt: Yes (Clears old commands neatly)
✅ Apply Nerd Font (Recommended: MesloLGS NF)
- Download MesloLGS NF from Nerd Fonts official website
- Open iTerm2 Preferences (
⌘ + ,) → Profiles → Text → Font, and set the downloaded font.
🔌 5. Installing Zsh Plugins (Auto-Suggestions & Syntax Highlighting)
✅ Install zsh-autosuggestions (Command Auto-Suggestions)
git clone https://github.com/zsh-users/zsh-autosuggestions ${ZSH_CUSTOM:-~/.oh-my-zsh/custom}/plugins/zsh-autosuggestions
✅ Install zsh-syntax-highlighting (Syntax Highlighting)
git clone https://github.com/zsh-users/zsh-syntax-highlighting.git ${ZSH_CUSTOM:-~/.oh-my-zsh/custom}/plugins/zsh-syntax-highlighting
✅ Enable Plugins
Edit .zshrc (nano ~/.zshrc) and modify:
plugins=(git zsh-autosuggestions zsh-syntax-highlighting)
Apply the changes:
source ~/.zshrc
⚙️ 6. Additional iTerm2 Features and Settings
✅ Command History Search
⌘ + ;→ Search command history⌘ + Shift + H→ View entire command history
✅ Splitting Terminal Panes
- Vertical Split:
⌘ + D - Horizontal Split:
⌘ + Shift + D - Switch Panes:
⌘ + [Arrow Keys]
✅ Adjusting Terminal Transparency
Preferences (⌘ + ,)→ Profiles → Window → Adjust Transparency
✅ Enable Shell Integration
curl -L https://iterm2.com/shell_integration/install_shell_integration.sh | bash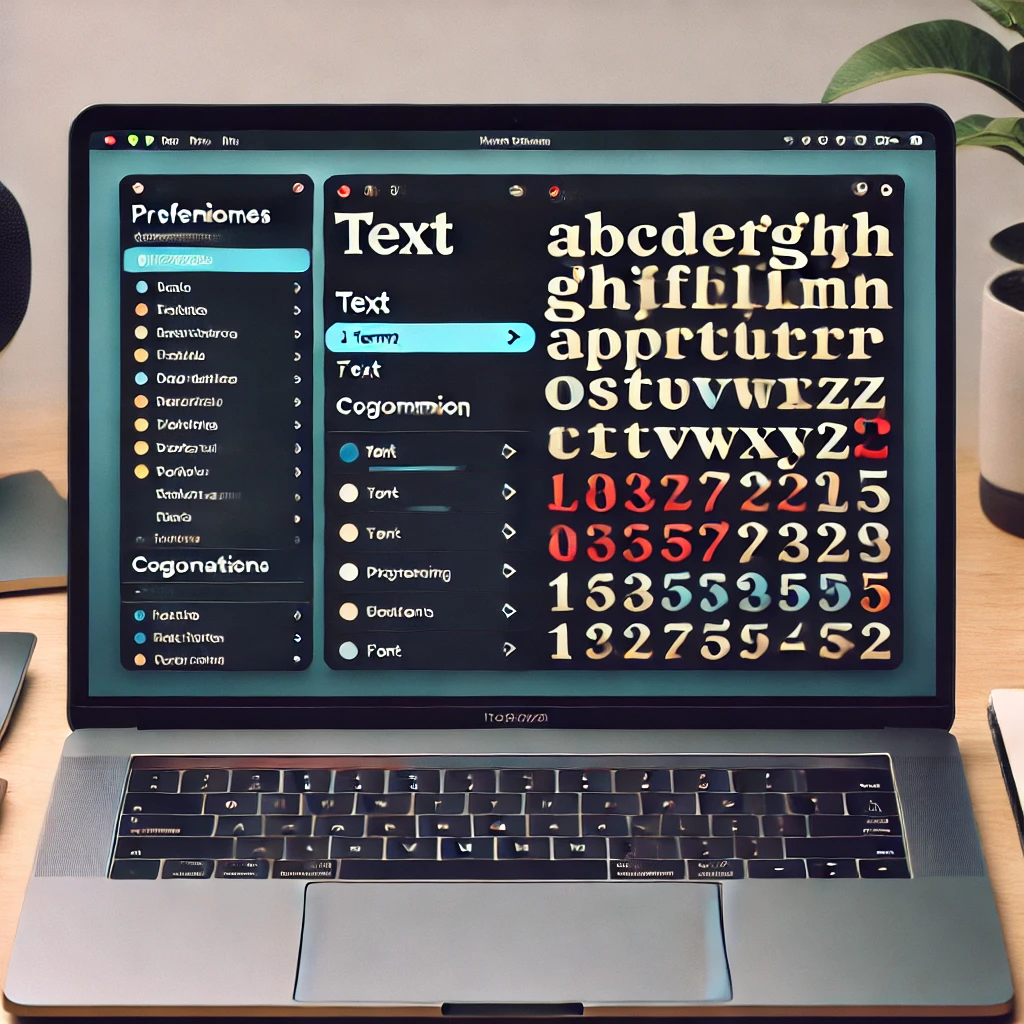
🎯 Final Summary
✅ Check and Install Homebrew if needed
✅ Install and Set Zsh as the Default Shell
✅ Install and Configure iTerm2
✅ Apply and Customize Powerlevel10k Theme
✅ Add Zsh Plugins (Auto-Suggestions & Syntax Highlighting)
✅ Utilize iTerm2 Shortcuts and Features
Now, your iTerm2 + Zsh + Powerlevel10k setup is complete! 🚀